
Technology Information for Using Google Earth Web
Google Earth Web is slightly easier than Google Earth Pro and offers nearly the same features. But you do have a few steps that require a bit of an explanation.
Step 1. Click to Download the Google Earth File for this episode at the top of the weekly blog story.
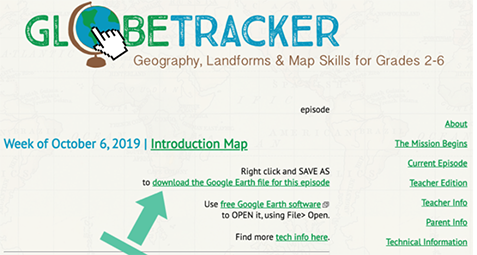
2. Save the file wherever you wish on your device.
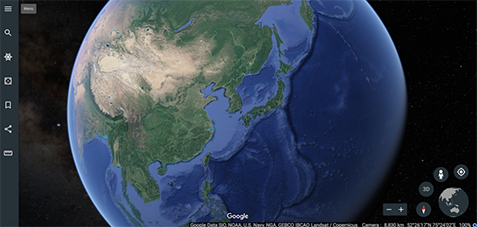
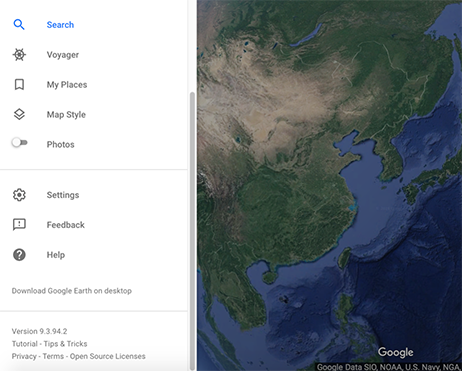
Open your CHROME Browser, and go to Google Earth Web. Click the three lines on the top left side to open up your options menu.
4. Once you have your options menu open, scroll down to settings and click to open.
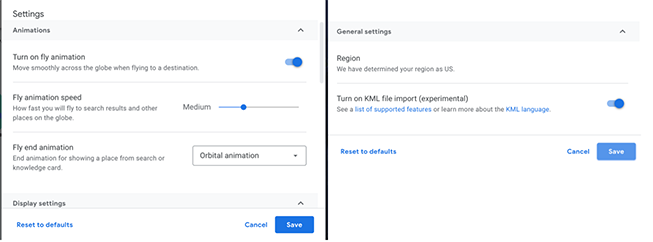
5. The settings option offers you the ability to turn on fly animation (definitely want to do that!) and even set the speed. But if you continue to scroll down, it also has you set permissions for file imports. Scroll down and make sure that you have enabled the KML file import option (the Google Earth maps won’t open without that slider chosen). Don’t forget to SAVE your changes.
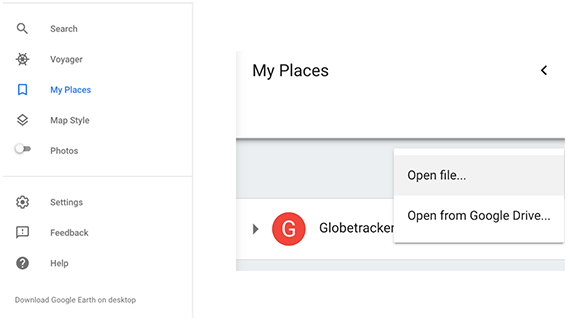
6. Now that you have saved your settings, you can open your file. Click on My Places on the left side bar (see image on the left). Once My Places in open, choose to open your file and select the location (see image on the right).
The map file that you open will appear on the left side. Now that your map is uploaded on to Google Earth Web, you can start to explore. Click on the folder with the name of the file.
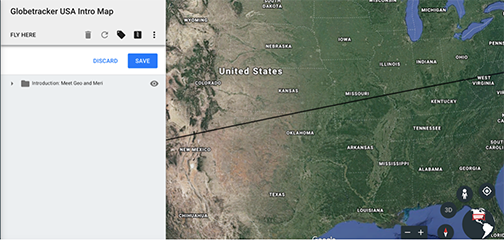
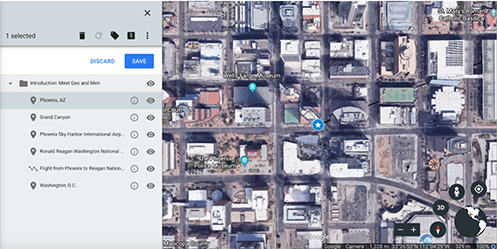
When you open the folder, the list of locations will appear. Click on any of the locations to explore that area. The button to the right of the location name will bring up a pop-up box that includes images, videos, and links about the location. View photos by clicking on the green clickable bubbles.
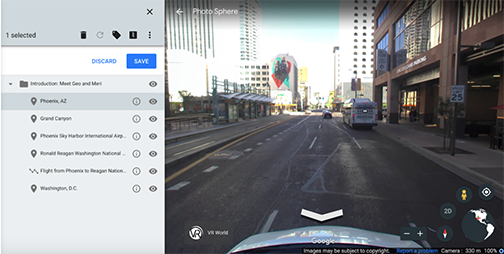
There is also a street view option by moving the yellow character at the bottom right side. Click and drag the yellow man to where you want to go. Click and drag in any direction to see the surrounding areas.

The other icons at the bottom (starting at the right side) include fly to your location (you must enable your location to be viewable), then the yellow character is street view, the next button allows you to choose your view of 2D or 3D, the final image will reset your image if clicked once and provide a view from space, if clicked twice.
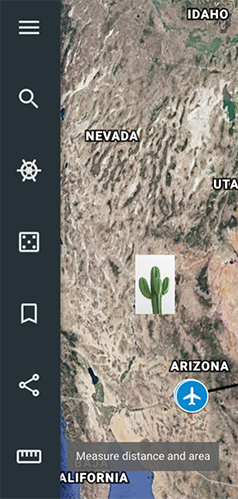
The left side bar offers a search option, two engaging activities (not related to Globetracker): I am Feeling Lucky and Voyager, there is also an option to share, save your places, and a tool to measure distance and area (a must-see feature).
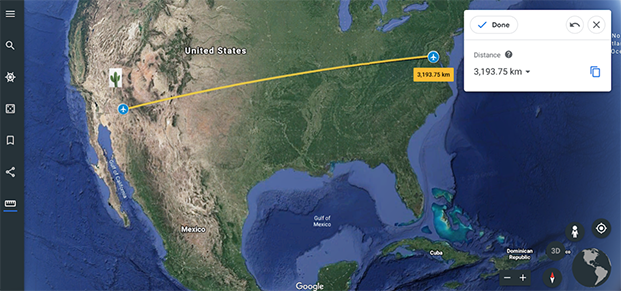
The measurement tool is easy to use. Click on the ruler, then click on the starting spot, and then drag to click on the ending point. The distance will instantly be displayed.
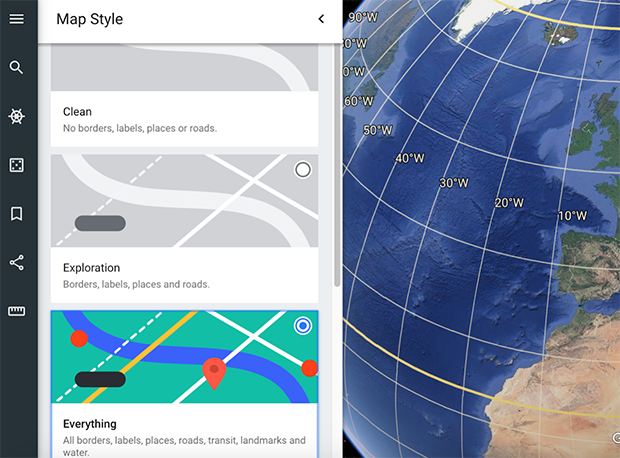
Viewing lines of longitude and latitude on Google Earth Web, using Map Style:
Google Earth Web has several options available on Map Style. To find the Map Style options, click on the 3 lines at the top left side to open up many setting options. Scroll down and click on Map Style. You can use this to choose to view borders, labels, places, and roads.
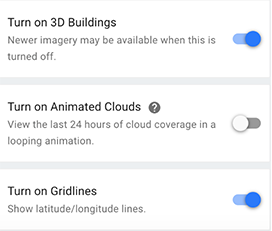
If you scroll to the bottom of the Map Style, you have the option to turn on 3D Buildings, Animated Clouds (great option for when you are learning about weather), and Turn on Gridlines. This shows the latitude/longitude lines. Use this view on an interactive whiteboard and have students use the pens to mark locations by longitude and latitude using the lines. This feature is a wonderful way to reinforce Geo and Meri's explanations of longitude and latitude.